Do you remember your last trip to a museum? All of the exciting exhibits? The pictures? The paintings? The primary sources? Have you ever thought about trying to recreate the same experience for your kids?
Try building a museum exhibit for your students to learn about a certain topic! It is fun for the kids, gets them out of their seats, and exploring history in a truly unique way. Here is how I do it –
 1. Start with your topic… but then narrow it down to an essential question – what do you want your students to learn about when they visit your museum?
Some examples can include a museum devoted to the Holocaust, to the battles of the Texas Revolution or Modern Presidential Libraries.

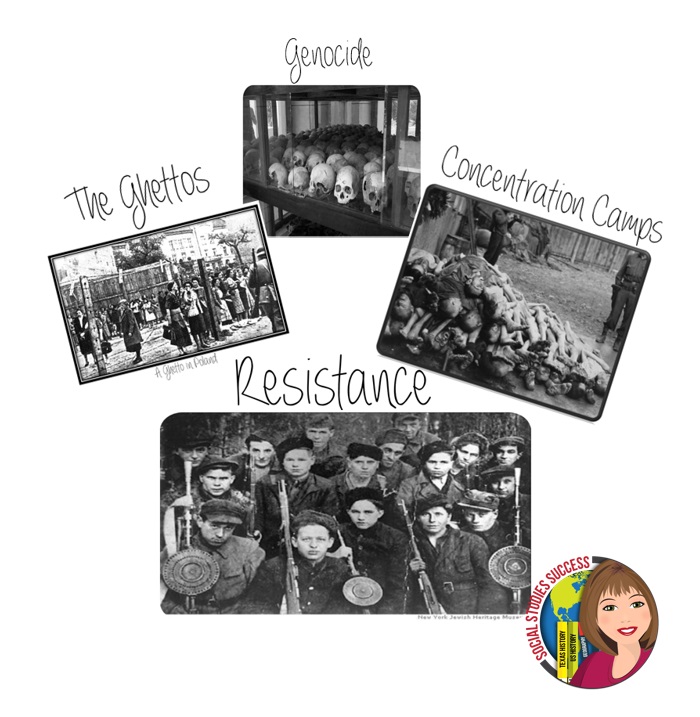
2. Divide out your topic into subtopics – you will need at least four. An example could include these subtopics on the Texas Revolution: Early Battles, The Alamo, The Goliad Massacre, and The Battle of San Jacinto. This allows your students to visit different ‘exhibits’ within your museum. Here is an example of what a few look like in the classroom.

3. Write summaries for your subtopics – remember you are using your museum to actually teach a topic – so kids will need to READ!!! while they are visiting your museum. In addition to a summary, I also like to include a few guiding questions for students to discuss with a partner while they are visiting their museum.


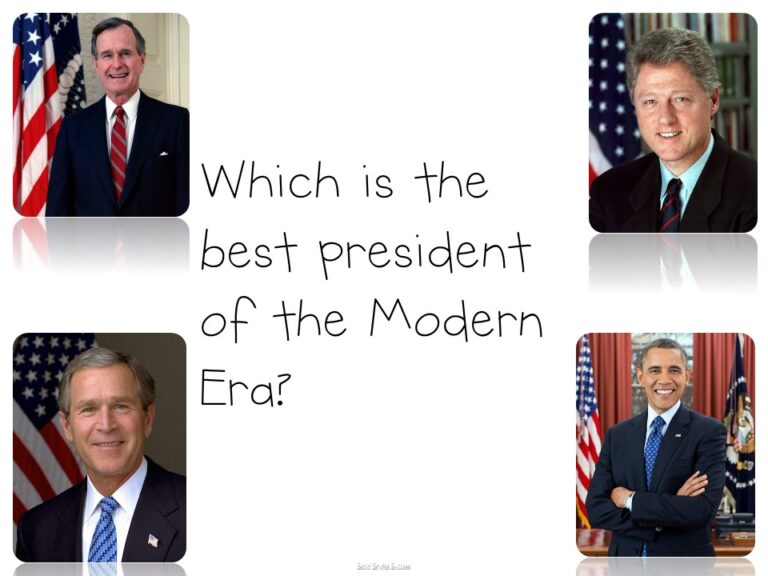
4. Find images for your exhibit – I usually like to include a few portraits, paintings or photographs for each subtopic for the students to analyze. Here is an example of an image I use for my Presidential Library lesson.
And what it looks like when there are all grouped together in my Texas Revolution lesson.

5. Find primary source quotes – what were people saying about the event during the event? I usually include one or two quotes – what I really love is when they are different points of view of the same event.

6.Can you find any real artifacts? I have a friend who shops garage sales for artifacts to include in his lesson. An Army Navy Surplus store is also a great location for those realistic artifacts.
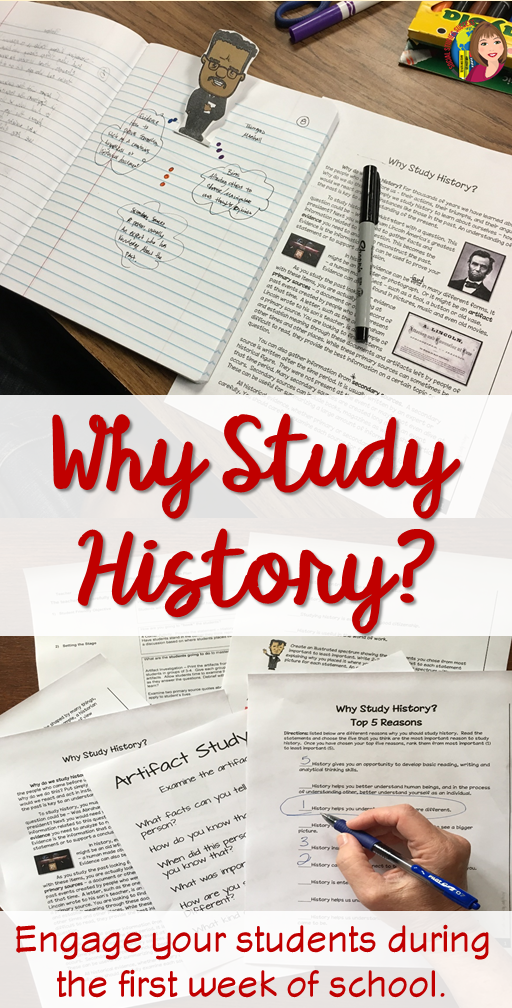
7. Create a graphic organizer – how are they going to tie all of the content together as they visit different exhibits? In my Holocaust Museum lesson, I use a diary entry, similar to that of Anne Frank, to guide student’s note taking.

8. Create a processing assignment – how are the students going to prove to you that they have learned the content? The processing lesson from my Presidential Libraries lesson includes fake souvenirs that the students make to summarize the key events from each president’s term.

Have fun creating! If you want to see these lessons already made, you can find them here:
The Holocaust Museum


A Tour of the Presidential Libraries