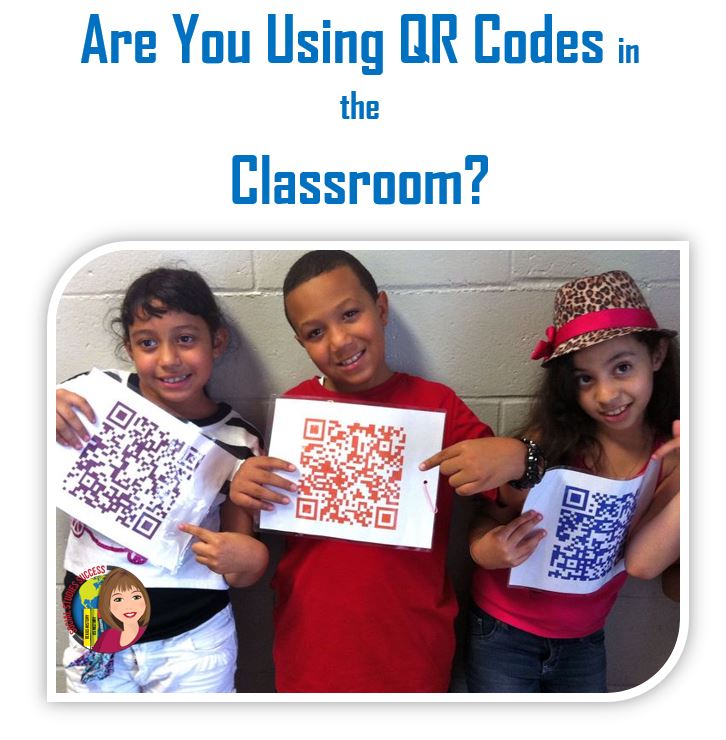
Technology in the classroom can be both a blessing and a curse! When technology is used correctly, it can enhance a lesson and provide multiple opportunities for engagement. One of my favorite ways to incorporate technology is through the use of QR Codes. These quick little links allow teachers to differentiate learning for students through the use of additional readings, music or video clips. The code directly links to a website, preventing students from wandering the net and wasting time. It also protects your students – You can ensure that students don’t accidentally click on invalid links, links to spam, or virus filled links.
Here are the steps I follow when I am creating a lesson using QR Codes.
Step One: Download a QR Code Reader – these are found quickly in the App store and should be downloaded before class.
Step Two: Identify your source – are your students reading additional information? Listening to a song from the Civil War? Watching a video clip?
Step Three: Copy and paste your link into a QR Code Converter. There are many different options – I always choose the free one!
Step Four: Embed the QR Code into your lesson. Think through how your students are going to access it – are they scanning it from a worksheet? A station activity? Do they need headsets? I love QR Codes because it allows you to be as creative as you want. You can create stations for students to learn about specific events, people, etc.; create a hot spot that will take students directly to a video clip that will relate to the lesson; have a QR Scavenger Hunt, giving students tidbits of information regarding a specific person or event and have them attempt to hunt down the next clue to determine who/what they are hunting; and you can create QR Code Worksheets, allowing students to complete quizzes, group work, and/or homework online instead of having to handout stacks of paper.
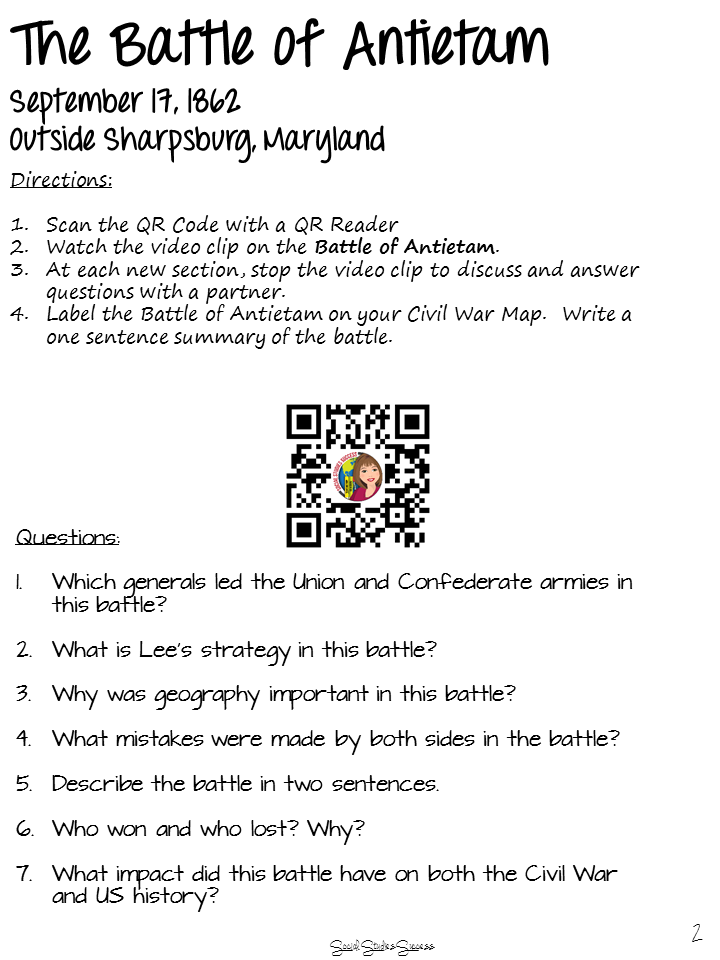
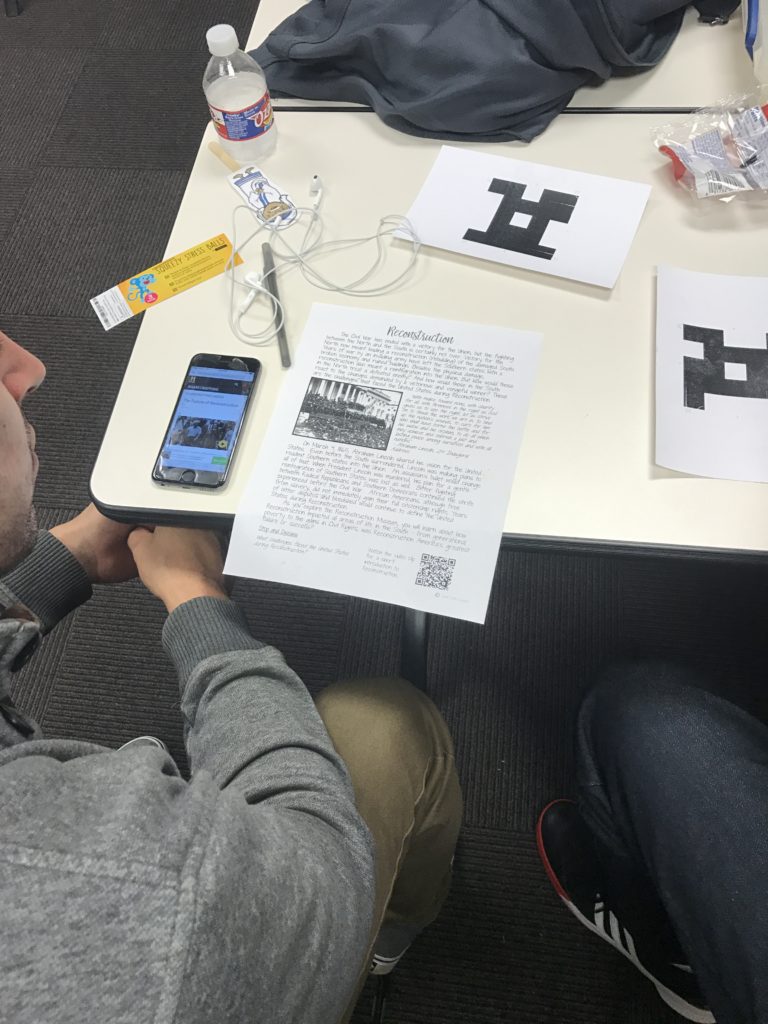
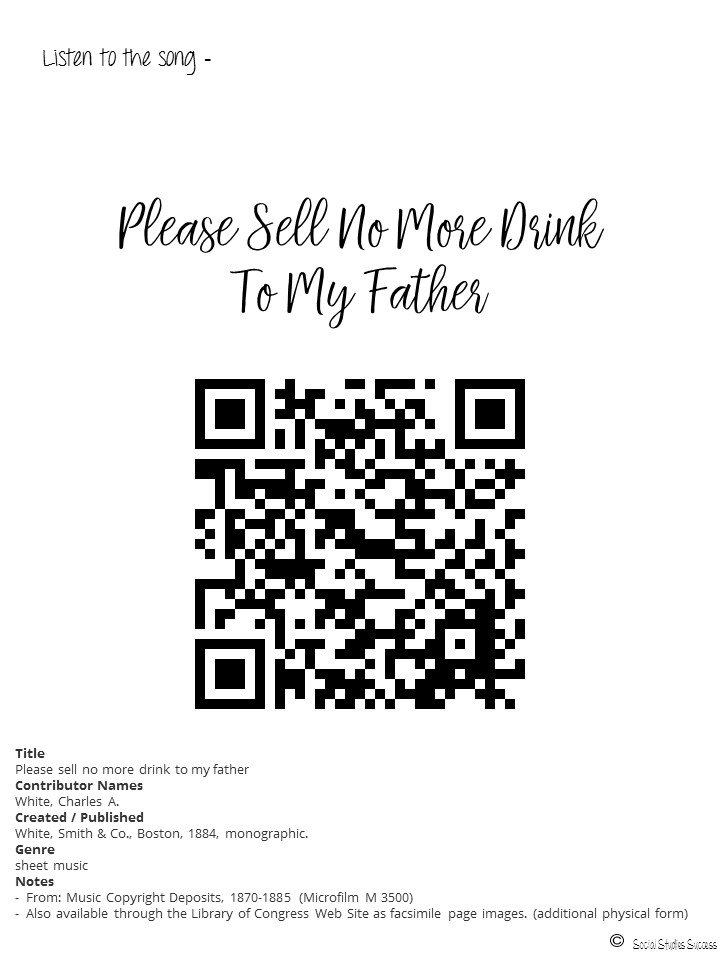
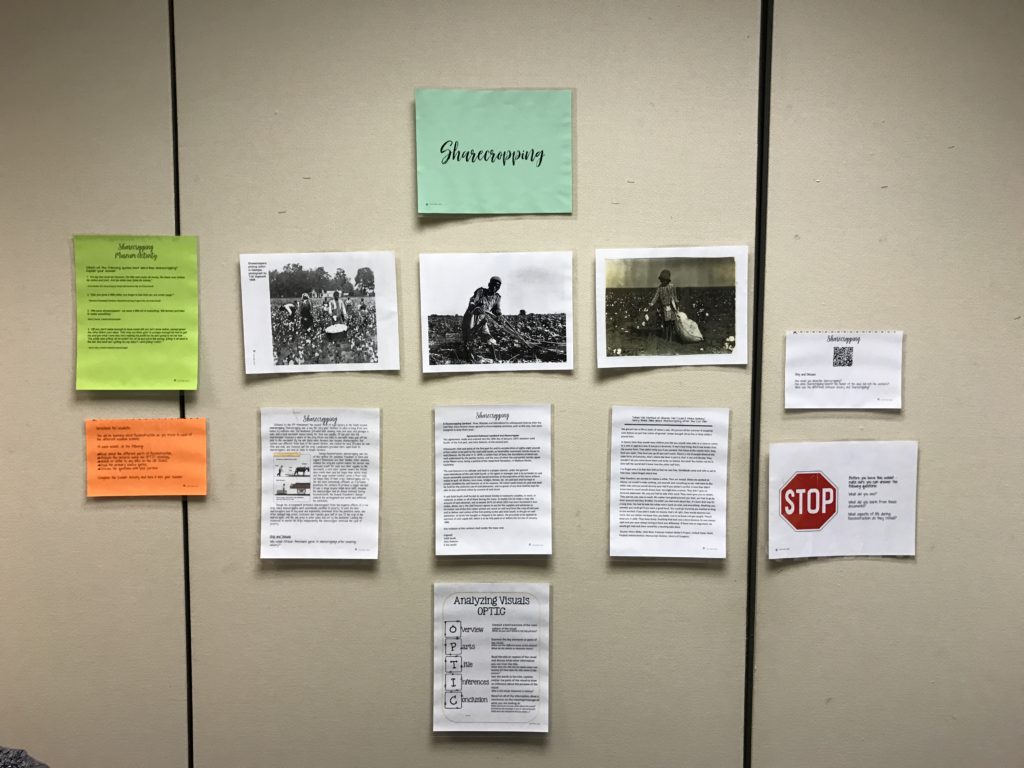
Some examples of QR Codes in action:

How do you use QR codes in your classroom?