It Isn’t About the Glue: Understanding the Interactive Student Notebook
If you have ever walked past a classroom and seen students cutting, folding, and taping paper into a composition book, you probably had one of two reactions. Either that looks amazing — or I do not have time for that.
I understand both. The Interactive Student Notebook has a reputation problem. Somewhere along the way it became known as the arts-and-crafts strategy — the one that eats a class period and produces a beautiful notebook nobody opens again. That is not what an ISN is. And you can build a strong one without a single glue stick.
A notebook is not interactive because it has flaps. It is interactive because students interact with the content within the notebook. Everything else is decoration on top of that.
That is why I split my ISN training into two parts: structure and style. Structure is what makes the notebook work. Style is what makes it belong to the student. Most teachers start with style — and that is exactly where the frustration comes from.
Structure: Hook, Line, and Sinker
I use a fishing analogy for the three parts of every notebook assignment, because it keeps the sequence straight in your head when you are planning at 9 p.m.

The Hook is the preview assignment. It is short, it is ungraded except for completion, and it exists to activate what students already know before you hand them a reading. Tap the schema. Set a purpose. Prepare the brain.
My favorite hook is a visual discovery — one strong image and a set of spiral questions. List five details you see. If you could hear people talking in this image, what would you hear? If this appeared in a newspaper, what would you title it? Political cartoons work beautifully here. So does a photograph of a monsoon, or two images offered as multiple-choice options.
An analogy works when you need students to feel a concept before they can name it. Before a lesson on regions, I ask them about a grocery list: apples, carrots, bread, milk, fish, steak, trash bags, chips. You need to get in and out fast — how do you group these? Why? They have just explained regions to themselves.
An anticipation guide does something similar with statements instead of images. Four to six statements that support or challenge what students believe, agree or disagree, defend your answer. Then they read to find out who was right.
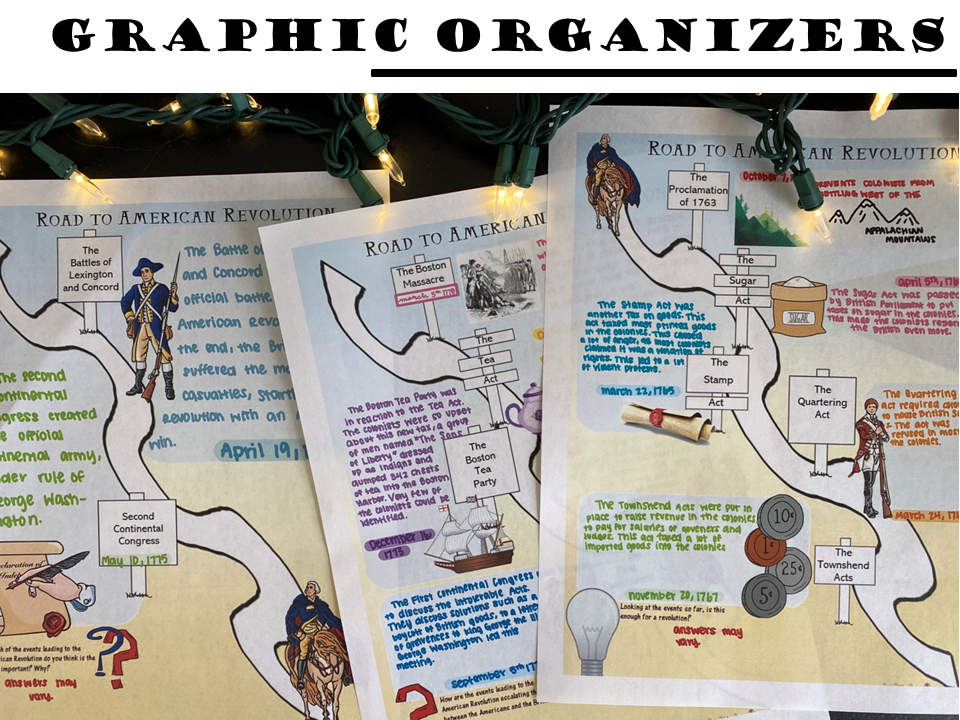
The Line is the note making — and I say making on purpose. Taking notes is copying. Making notes is constructing meaning. That distinction is the whole ballgame.
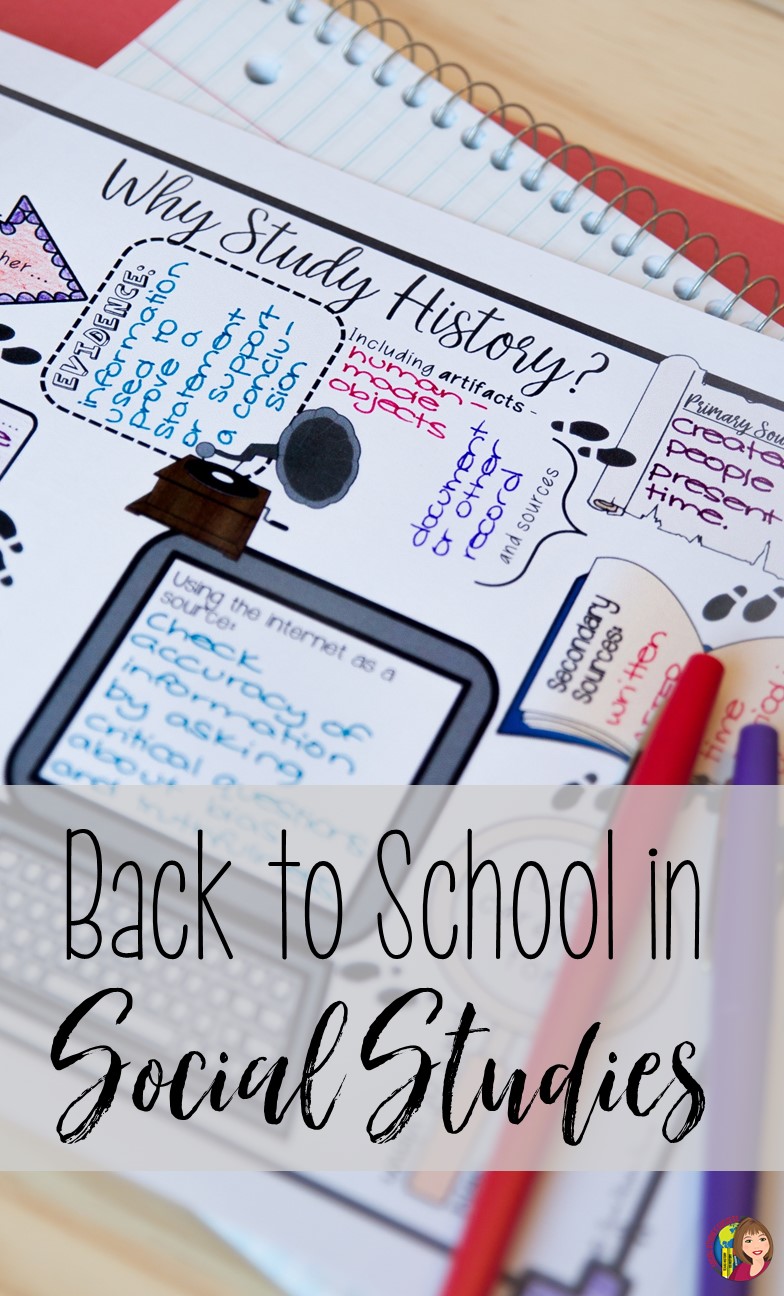
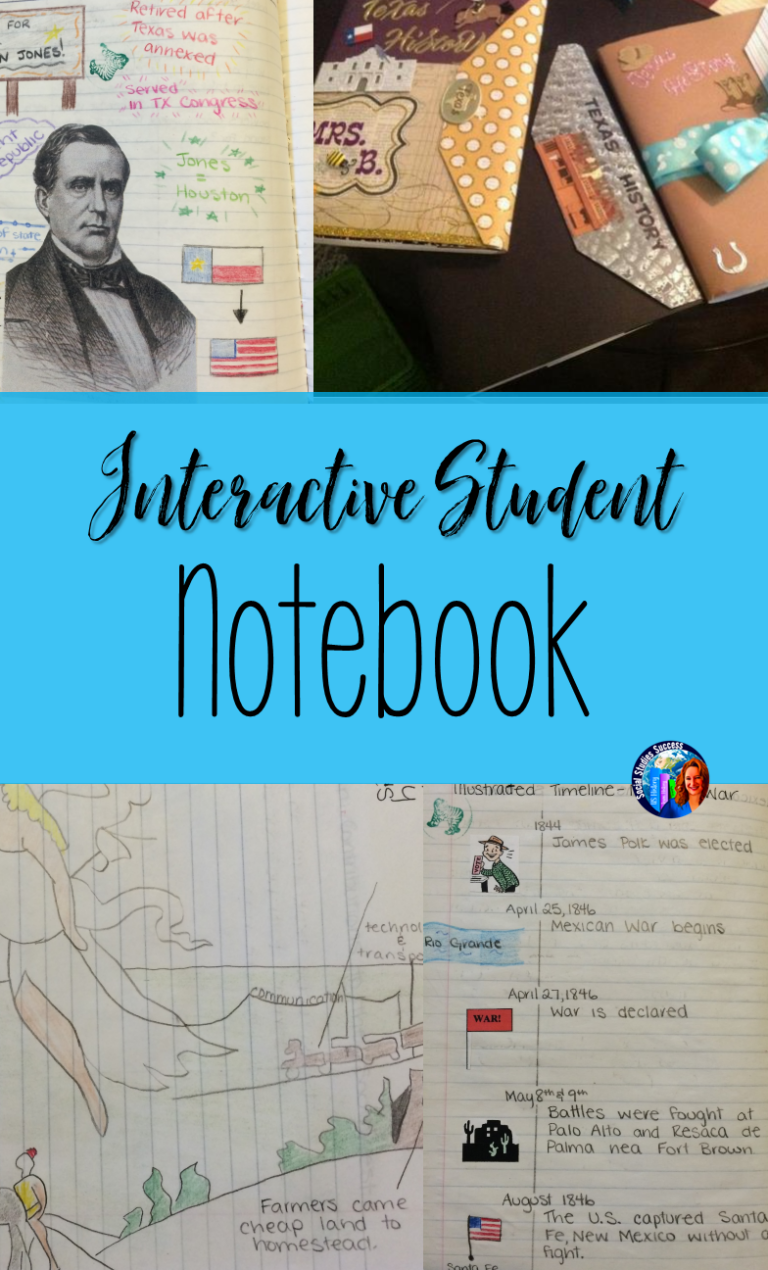
This is where graphic organizers do the heavy lifting: two-column notes, illustrated timelines, annotated images and diagrams, cause-and-effect chains, fishbones, double bubbles, decision trees, GIST summaries. Doodle Notes™ are my favorite, and there is real reasoning behind that. The picture superiority effect tells us images are more likely to be remembered than words alone, and Doodle Notes™ pair the two deliberately — visual analogies specific to the lesson, guided layout prepared in advance, and space left for students to sketch, label, and color-code. (Doodle Notes™ was developed by Brigid Danziger and Kate Wright; the term is trademarked and used with permission. You can learn more at doodlenotes.org.) Sketch notes get you there from the other direction — students build the summary themselves out of handwriting, symbols, arrows, and boxes.
The organizer you choose should match the skill you are teaching. Sequencing, categorizing, comparing, text-dependent analysis, evidence-based reasoning — those are different jobs, and they call for different tools.
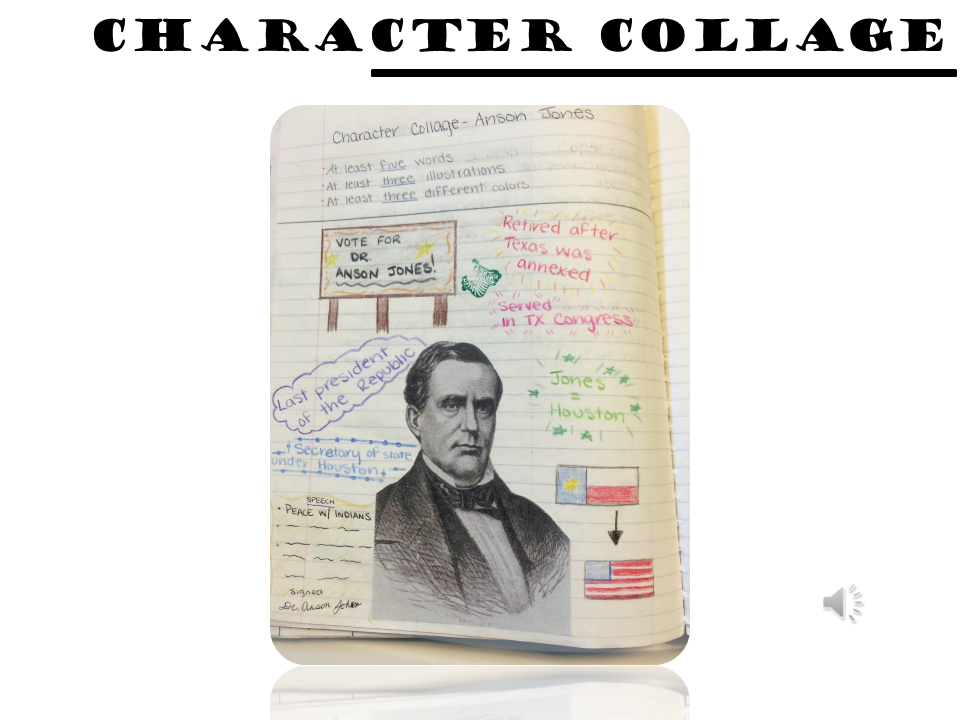
The Sinker is the processing assignment. This is the piece teachers skip when they run out of time, and it is the piece that makes the learning stick. Higher-order thinking. Application. A reason to go back into the text.
Character collages and sensory figures for historical individuals. Flow charts for a sequence of events. Point-of-view stories. Mosaics that pull the pieces of a unit into one image. Acrostic poems. Beyond the Frame, where students draw and write what is happening just outside the edges of a photograph. A spectrum, where they rank events by importance and then defend the order. Every one of these is a place to differentiate — and every one of them tells you, at a glance, whether students actually understood.
Style: Making It Theirs
Here is the part that surprises people. Personalization is not fluff — it is loss prevention.
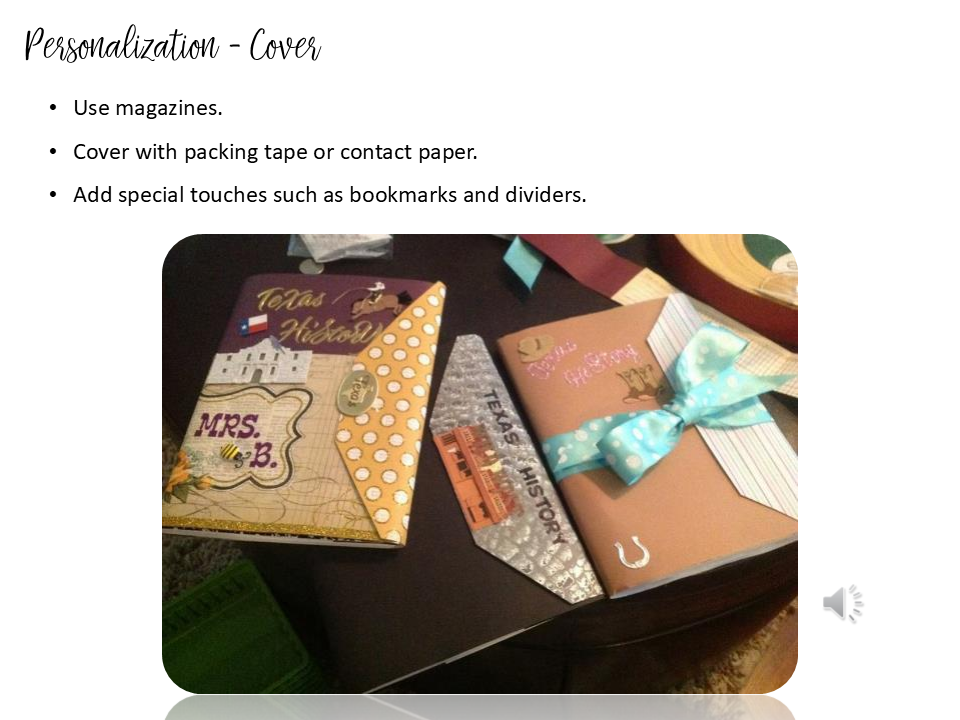
The first week of school, my students personalize their covers with magazine cutouts and we seal them with clear packing tape. They create an author page and a dedication page: Who is important to you? What are you going to do for them? A notebook a student has invested themselves in does not get left on the bus.
Organization is the other half of style, and it is worth being rigid about:
- Title and date every assignment. Absent students will thank you. So will you.
- Pick one numbering system and make everyone use it. Number as you go, number by activity, or use an A/B/C method — 2A for the preview, 2B for the notes, 2C for the processing. What you cannot do is let students number on their own. You will regret it the first time you say “turn to page 14.”
- Keep a table of contents. Page numbers, titles, dates, and grades if you want them. I recommend keeping a master copy in your room.
- Add resource pages and unit pages. Vocabulary, maps, a unit title page with images and a phrase that captures the theme.
Grading Without Losing Your Weekends
The first question to answer is this: is the Interactive Student Notebook a product or a process? Your answer determines whether you are grading for perfection or grading for learning. I grade the process.
A few things that make it sustainable:
- Inspect what you expect — especially early in the year. Stamps, initials, stickers. Comments on sticky notes, and make most of them positive.
- Share the rubric in advance. Students cannot hit a target they cannot see.
- Stagger your collection. First and second period one day, third and fourth the next.
- Schedule it into your calendar. Group project days, guest speaker days, even test days are good grading days.
- You do not have to grade every page. Decide what is essential for students to master and check those.
- Let students use their notebooks on a quiz. It teaches them why notes matter and gets the notebook in the room every day.
- Use peer review and gallery walks with samples from previous years. Students calibrate fast when they can see the range.
For quality, I require color — and I am specific that color is for organizing, not for prettiness. Model it when you take notes with them. Put it in the rubric. Then show them evidence that this notebook has value beyond your class, because the students who keep them do come back and tell you so.
Ready to Build One?
Yes, there is a learning curve — for you and for your students. It is worth it.
If you want to walk through all of this in detail, I have an online, on-demand professional development course on the Interactive Student Notebook. You get the full video training on structure and style, plus the ISN Strategy Manual — preview strategies, note-making organizers sorted by social studies skill, processing assignments, blank templates you can print tomorrow, and a set of grading rubrics to choose from. You watch it on your schedule, stop where you need to, and build your own sample notebook as you go.
No glue required.