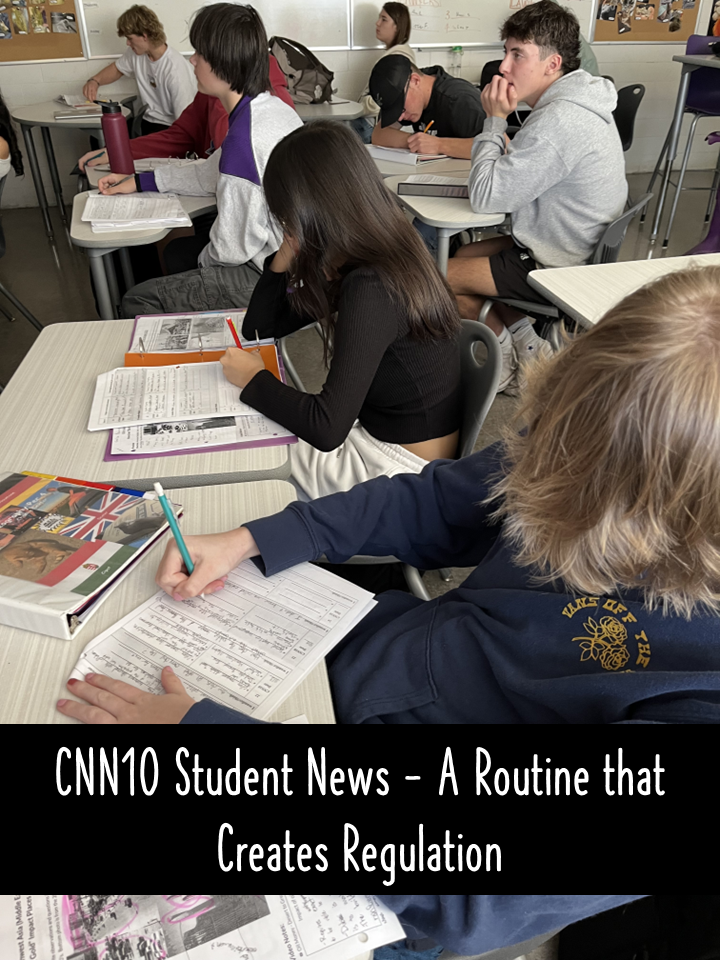
Picture it. You’re fifteen minutes into the story of D-Day. The map is up, the stakes are high, and honestly, you’re telling it well. Then you look up. Half the class is copying the bullet points word for word. The other half stopped writing five minutes ago and has that glazed look we all know too well. Nobody in the room is thinking about Omaha Beach. While building this lesson, Jodi, Lisa, and I struggled with how to take a lecture and make it powerful. Make it engaging. Make it rigorous. Make it stick. We developed a new Social Studies instructional strategy called the Zig-Zag Lecture that will work with any content; any topic.
Lecture isn’t the problem.
Some content simply has to be taught. When you’re walking students through the invasion of Normandy, the liberation of the camps, or the road to V-E Day, there’s a story to tell, and you’re the one who has to tell it.
The problem is what our students are doing while we talk. Copying isn’t thinking. Sitting still isn’t listening. And when the lecture ends, we’ve done all of the work.
So we built a routine to fix it. It’s called the Zig-Zag Lecture, and it debuts in my new World War II: War in Europe lesson found in socialstudies+ for high school.
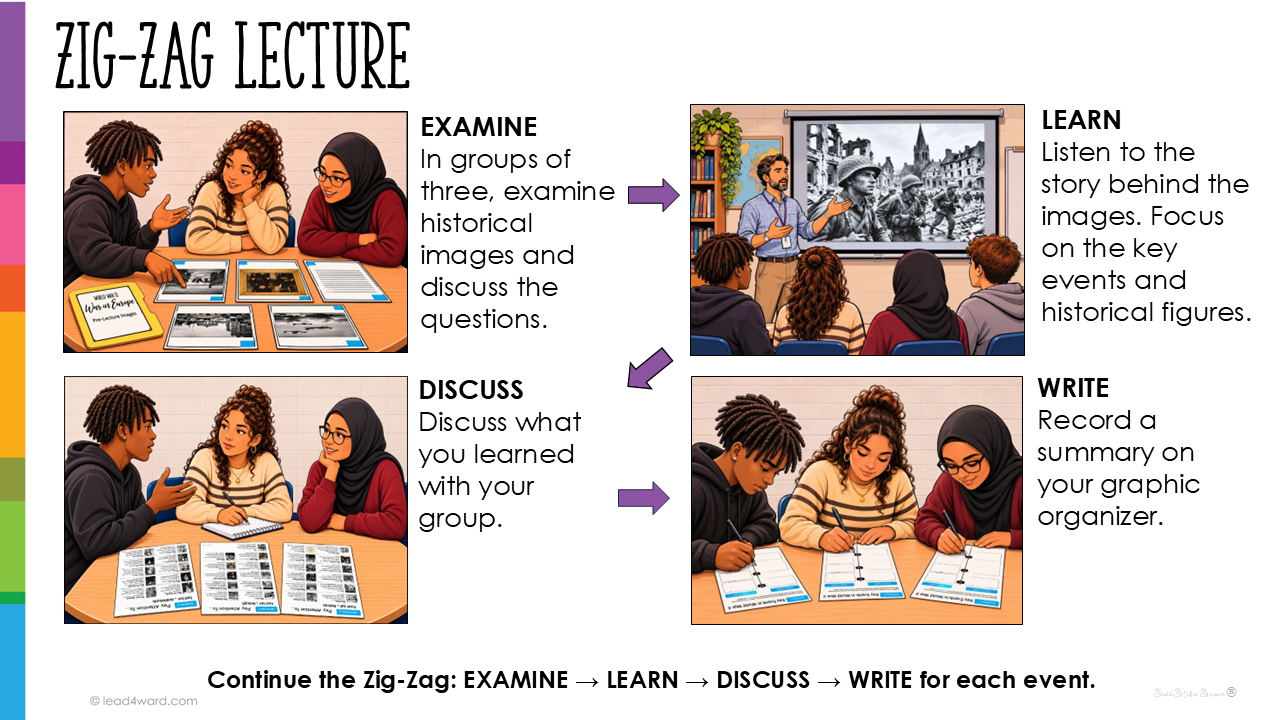
Examine. Learn. Discuss. Write.
That’s it. Four steps, repeated for every chunk of content. Instead of one long stretch of teacher talk, the thinking zigs to the students, zags to the teacher, and zigs right back again. Students examine images, listen to the story behind them, talk it through with their group, and then write a summary on their own.
Because the routine never changes, students learn it fast. By the second chunk, they know exactly what to do, and you spend your time teaching history instead of giving directions. In the Social Studies Success® Framework, this is the learn stage, but now every student has a job in it.
Step 1: Examine. Curiosity comes first.
If you read my post on Using Images for Pre Reading, you know students look at the pictures before they look at anything else. The Examine step puts that habit to work.
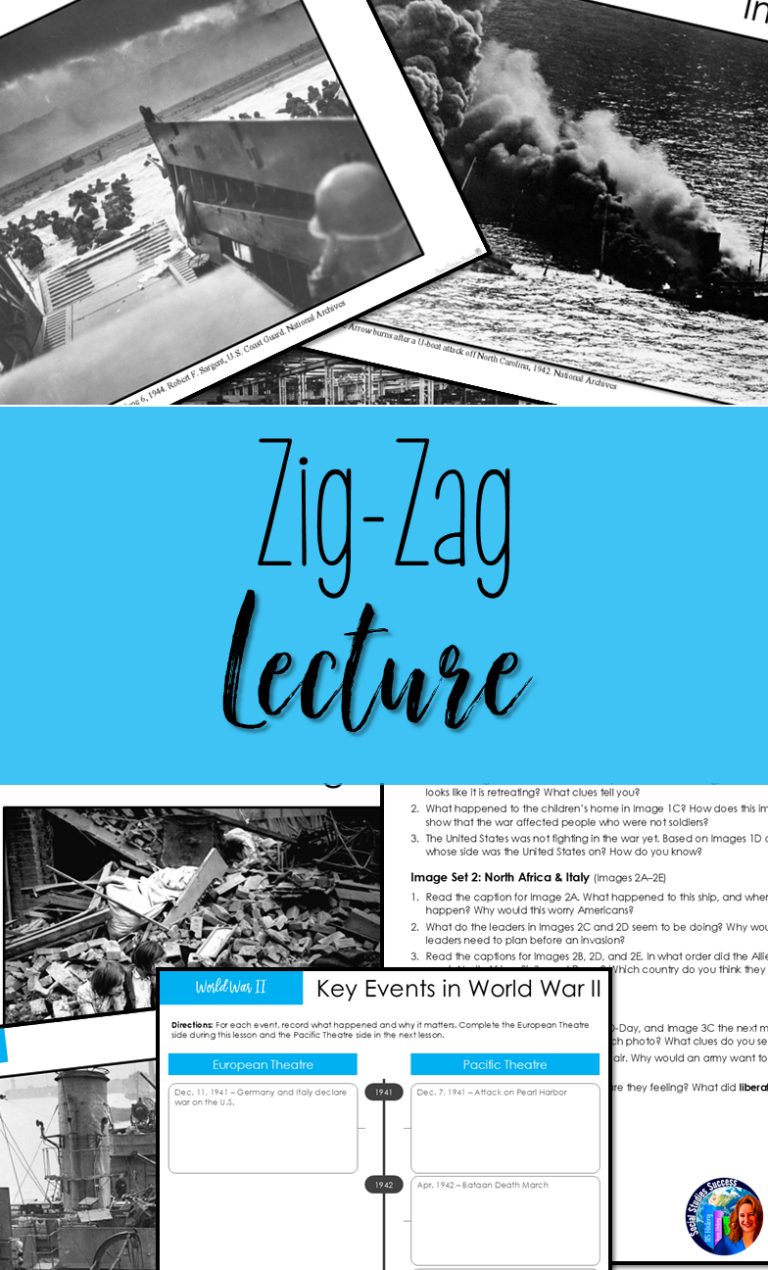
Each group opens an envelope with five images and captions, along with a discussion handout. They get three to five minutes to look closely and talk through three questions. These images have been carefully curated to front-load content heavy topics. Pictures help plant anchors in the brain for students to understand their learning.
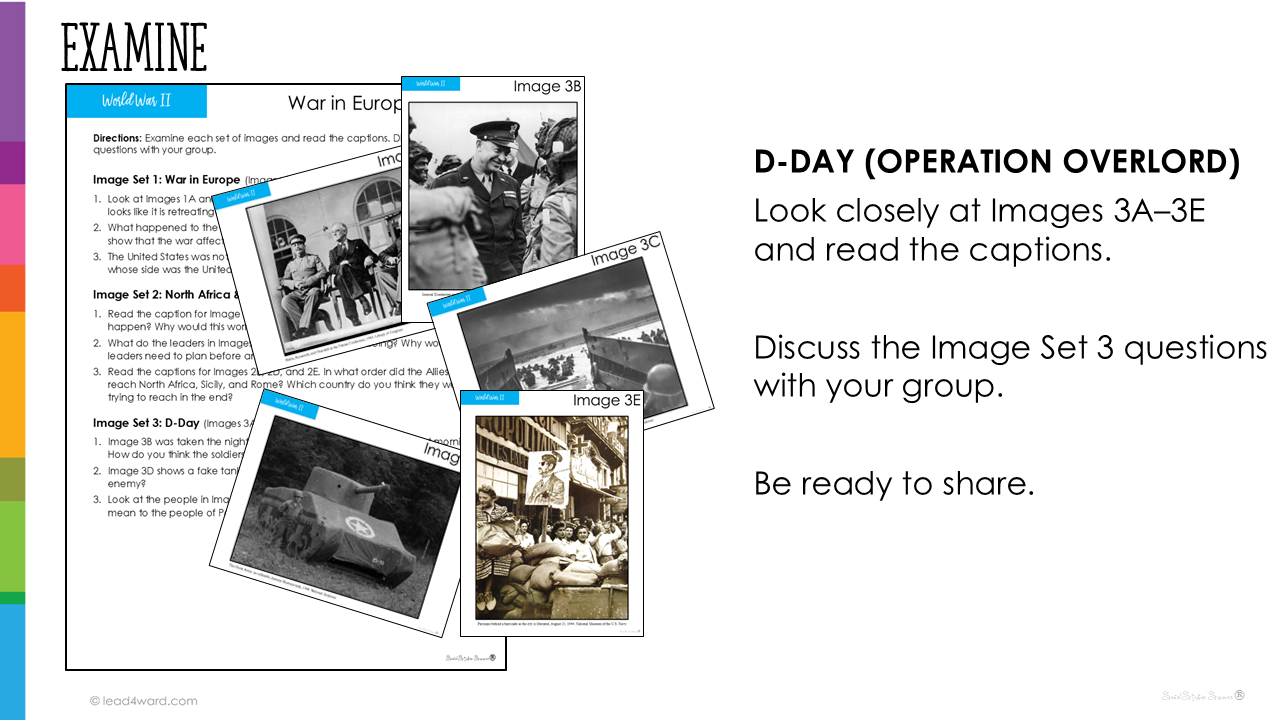
In the D-Day set, students compare a photo taken the night before the invasion with one taken the next morning. How did the soldiers feel in each? What clues tell you? They haven’t heard one word of the lecture, and they already want to know what happened.
Call on a few groups to share their predictions. Now the lecture has a purpose. Students are listening to find out if they were right.
Step 2: Learn. Pencils down.
Now you teach. Use the slides and speaker notes to tell the story behind the images. And here’s the part that surprises teachers most: students don’t take notes. They just listen.
When students aren’t scrambling to copy, they can actually follow the story, study the map, and connect what they hear to the images they just examined. Keep the chunk short, eight to twelve minutes. Resist the urge to keep going. The zig back to the students is coming.
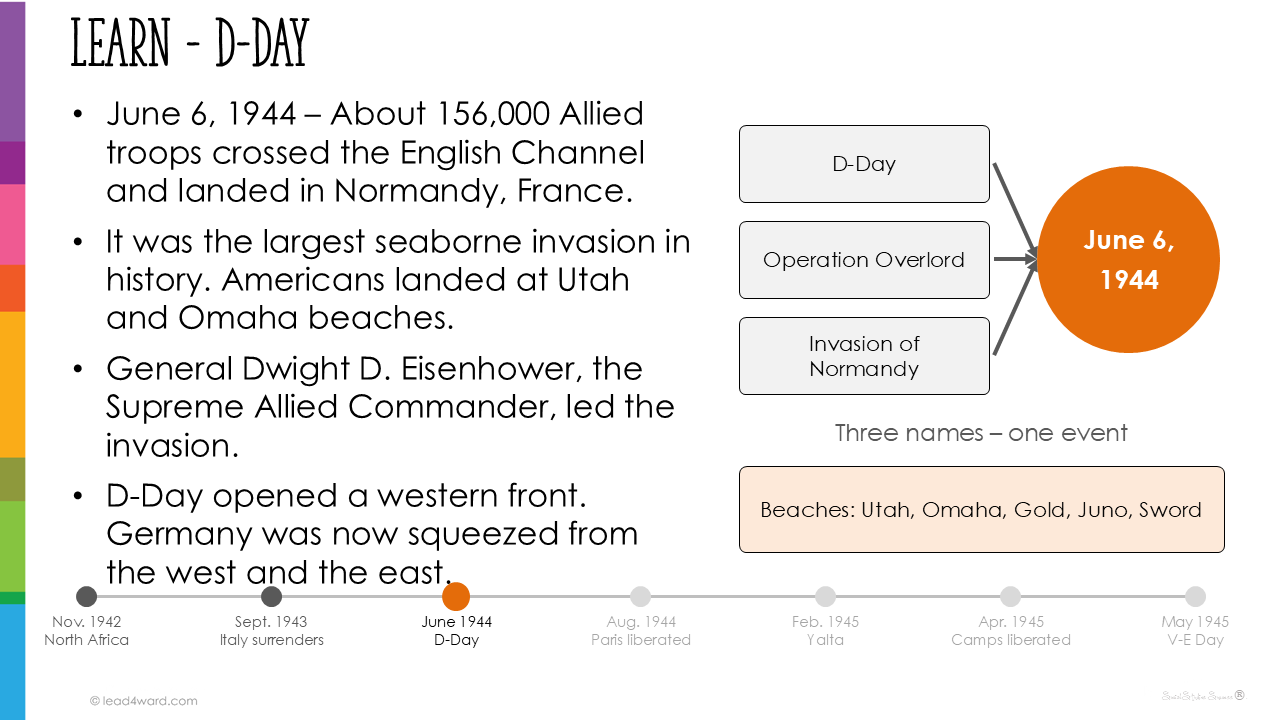
Step 3: Discuss. Say it before you write it.
At every Discuss slide, stop. Groups get two or three minutes to talk through focused questions.
Think of this as the dress rehearsal for writing. Students put the idea into words out loud before they put it on paper. For our Emergent Bilingual students, that oral practice makes all the difference when they pick up the pencil. You will then listen to their summaries to make sure there are no gaps in content.
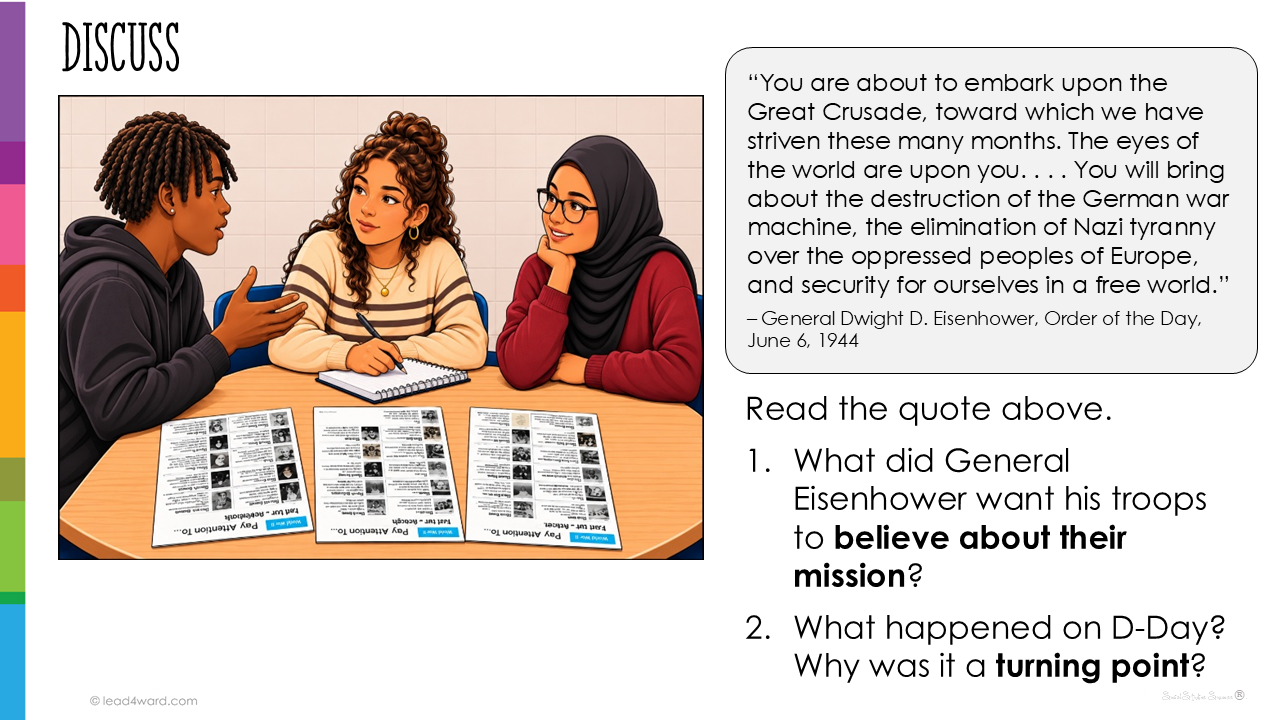
Step 4: Write. Every student, every chunk.
At every Write slide, each student independently records a summary on the graphic organizer. Because they’ve already examined, listened, and discussed, they have something to say. For students who need support, I give them a stem: This event was important because -.
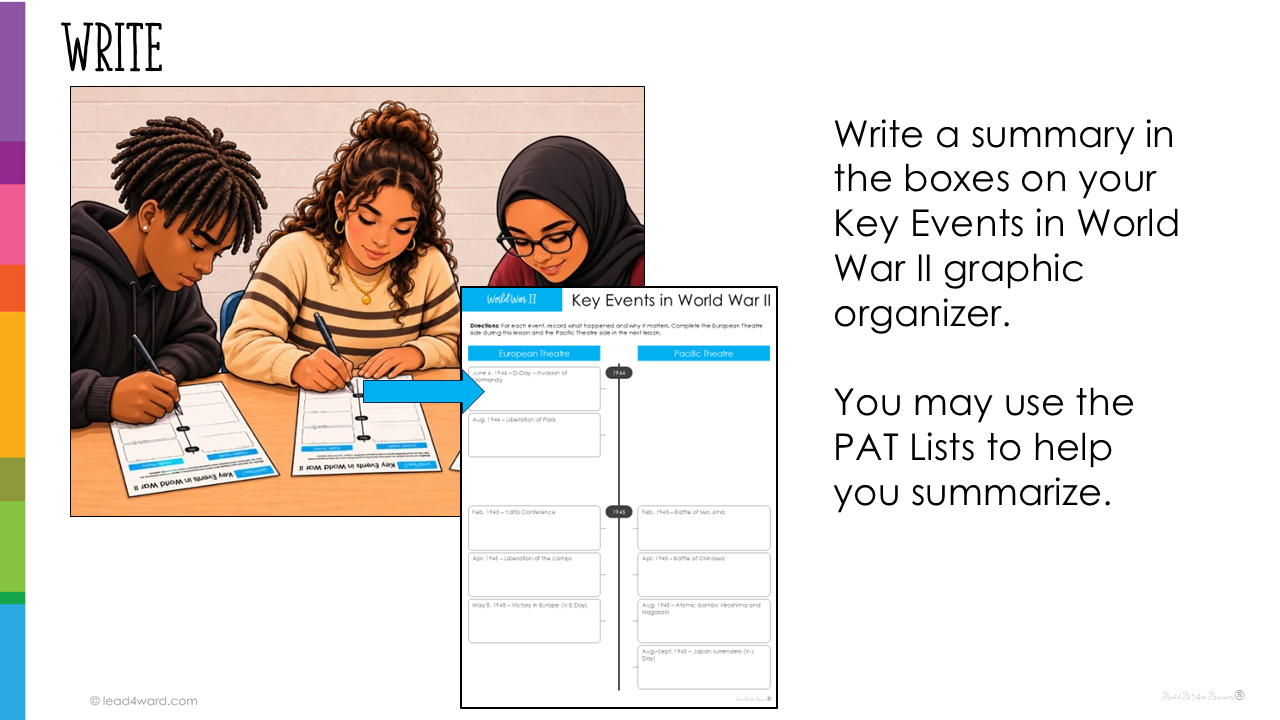
Model the first box with your students so they can see what a strong summary looks like. After that, it’s theirs.
Then zig-zag again.
Examine. Learn. Discuss. Write. Repeat. In War in Europe, that’s seven chunks over three days: the two-front war, North Africa and Italy, D-Day, the liberation of France, the Holocaust, the Big Three at Yalta, and Victory in Europe. By the end, every student has a complete timeline of the European Theatre in their own words, and they’ve talked their way through every single event.
Why it works.
The chunks are short. No one sits through thirty minutes of teacher talk. Ten minutes in, they’re engaged in images and talking again.
Curiosity comes before content. The images give students a reason to listen.
Talk comes before writing. Discussion builds the language students need to write well.
Nobody gets to hide. Every student examines, discusses, and writes, every chunk.
You check for understanding constantly. Each Discuss and Write slide shows you who has it and who doesn’t, while there’s still time to do something about it.
It’s packed with social studies skills.
Here’s what I love most: Zig-Zag Lecture isn’t just a better way to deliver content. It’s skill practice from start to finish. In the Examine step, students analyze primary sources, read captions to see when and where an image came from, compare photographs, make inferences, and predict what happened next. During Learn, they read maps and interpret primary source quotes, then check their predictions against the evidence. When they Discuss, they explain cause and effect, use evidence, and put academic vocabulary to work. And when they Write, they summarize, place events in chronological order, and decide why each event matters. That’s the historical thinking our standards ask for, built right into the lecture. Every chunk, every student, every day.
A few tips.
Build the envelopes once. One envelope per image set for each group of three, and you’re set for every class period, every year.
Short on time? Cut image analysis to two or three minutes, discuss only one or two questions, and have groups share within their group instead of with the whole class.
Protect the listening. It feels strange to tell students to put their pencils down. Stick with it. The Write step is coming, and the organizer means no one falls behind.
Prepare for the hard history. When a chunk covers painful content, like the Holocaust, preview the slides yourself first and set the tone with your students before you begin.
Take it anywhere.
Zig-Zag Lecture works anywhere you have a story to tell: the Gilded Age, the Texas Revolution, the Cold War. All you need is a set of images, a few good questions, and a graphic organizer that lets students focus on what matters. Once your students know the routine, you’ll find yourself reaching for it again and again.
Interested in the lesson? World War II: War in Europe, with the complete Zig-Zag Lecture, is available to socialstudies+ U.S. History members.
Interested in more ways to get students talking? Check out Building Your Engagement Toolkit.